
I first started seriously thinking about building a tiny house around February 2013 and Lily was really into the idea of building a tiny house on wheels. After looking at different floor plans, we came up with a design we both liked. We wanted high ceilings, so we needed a low profile trailer to stay under 13.5 feet (the legal limit in Georgia). We have a good family friend that had an old 70’ mobile home on his property and said we could have the axles if we wanted them.
We took him up on the offer and figured out the metal we would need. I decided that we’d make the main frame out of 3/8” thick 3X4” square tubing. The cross pieces are 3/8” 2X3” square tubing. The dimensions of our house ended up being24’ long and 8.5’ wide, with the final metal price being just over $900. I already had an old Miller generator/stick welder from my grandfather and a box of 7018 and 6010 welding rods purchased for $40 from a yard sale. I also purchased a used band saw for $300 to cut the beams.
We drew up the outline of the house in February 2013 and we bought the metal and started welding in April. We both worked full time jobs so we were limited to only working after 4pm on weekdays, and on the weekends. If you were in North Georgia during the summer of 2013, you know that it rained almost every day. Stick welding in the rain is possible but can be dangerous due to the high voltages welding requires, so this slowed our process a bit.
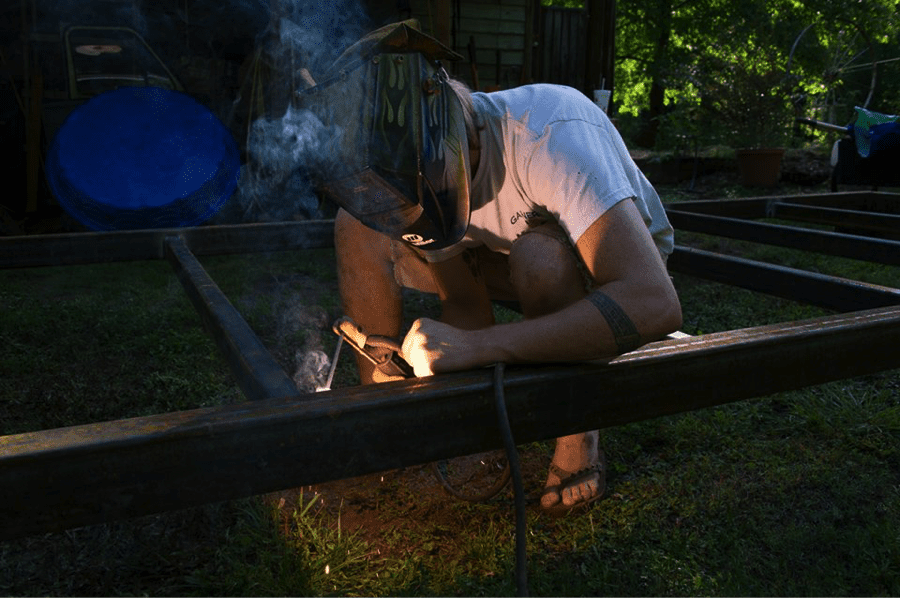
We used cinder blocks and wedges of wood to hold the frame level and off the ground. Then we cut 9 cross beams and spaced them evenly, clamping and tacking them one at a time, before welding them out.
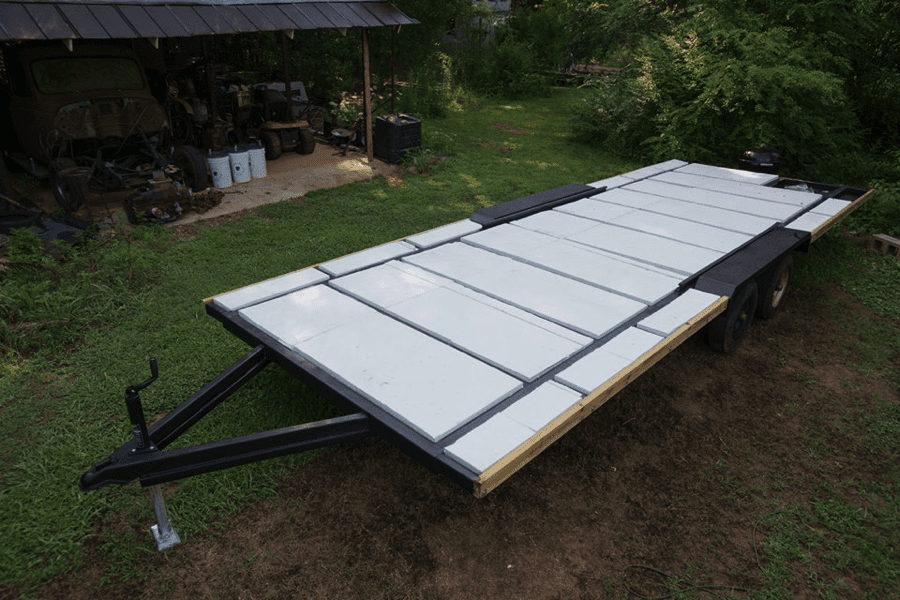
After welding the trailer’s frame we bought three sheets of 10X8’ 20 gauge steel for $60, and bolted it to the bottom of the trailer for flashing. This would also work as a sort of cradle to hold our foam insulation.
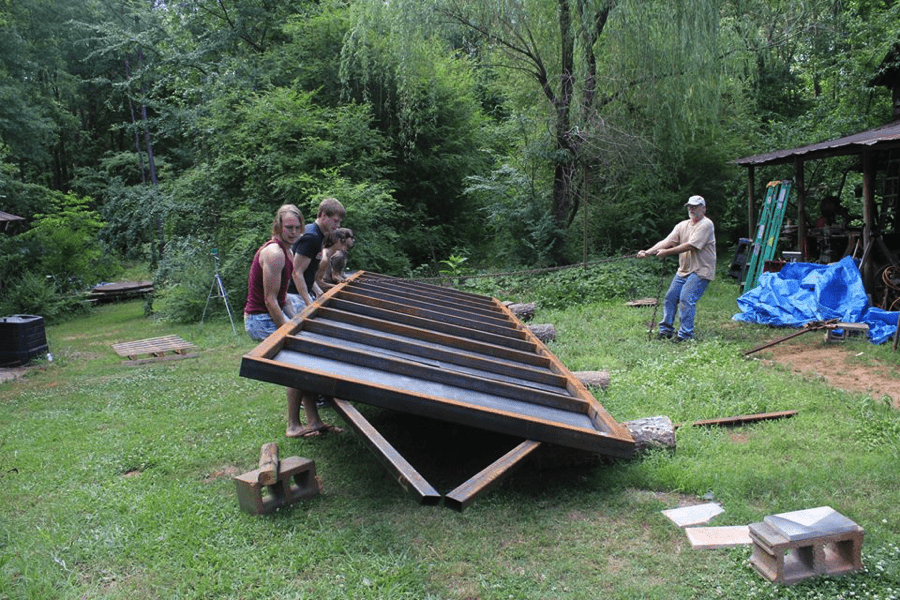
We actually built the trailer up-side down, making it easier to screw the 20 gauge steel flashing down, weld the spring mounts, and to assemble the tongue. (I was able to fabricate the spring mounts and fenders during lunch breaks at work, using metal from the scrap bin.) I reinforced the area over the wheel wells using 2 lengths of narrow gauge railroad track welded directly to the frame.
Flipping it over was a challenge. Four of our good friends came over to flip it, and with the use of a high-lift jack, four logs under one side with notches cut out of them, my dad for ballast, a logging chain, and a Honda Pilot we were able to get it right side up.
We painted the trailer black, using three coats with a spray gun, $36 for paint and paint thinner.
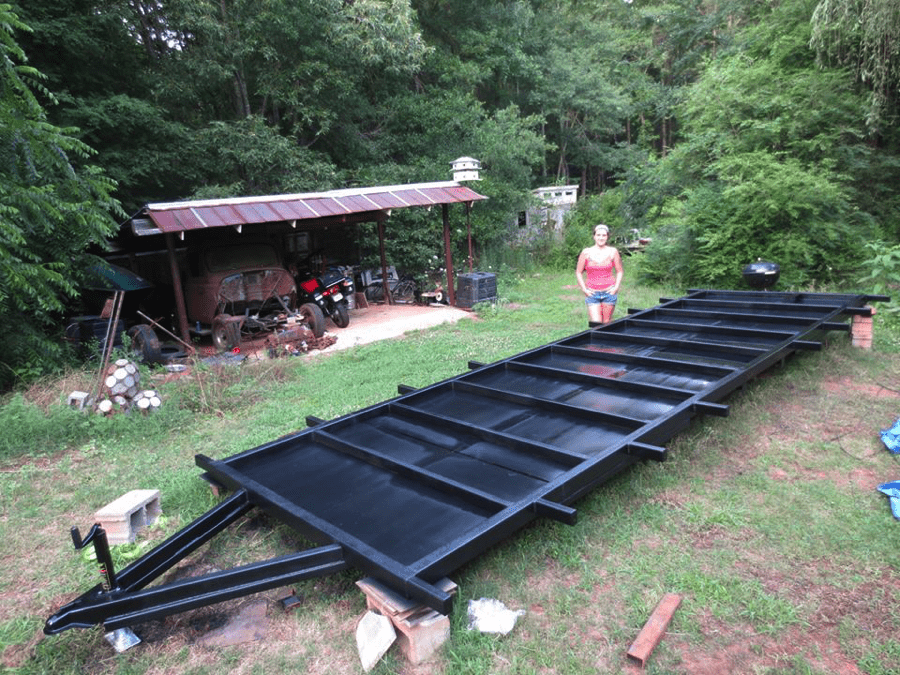
So the trailer alone cost about $1100 (not counting the band saw). All in all, it was pretty good for a 24-footer. But if you consider time as money, you have to factor in a solid sixty hours of work time. Apart from saving a little money, I liked the idea and challenge of truly building the house from the ground up. After the trailer construction was completed, we conducted a road test to make sure it was trailing properly, and it passed the test perfectly.
Instead of constructing a wooden frame for the subfloor, we to set our Styrofoam insulation between the crosspieces by using the frame as floor joists, which ended up saving us four inches of headroom.
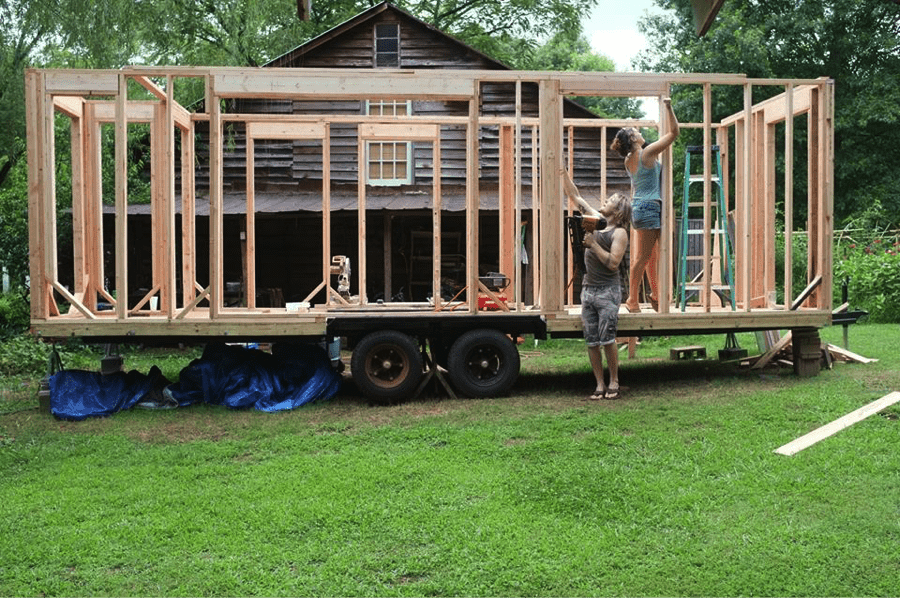
Then, we put down the subfloor, a layer of sealer, and started building the frame of the house. With pointers from my dad, we went about raising the frame following building standards with 16” centers on the uprights. We used screws rather than nails and extra diagonal bracing since the structure had to be able to withstand some highway travel.
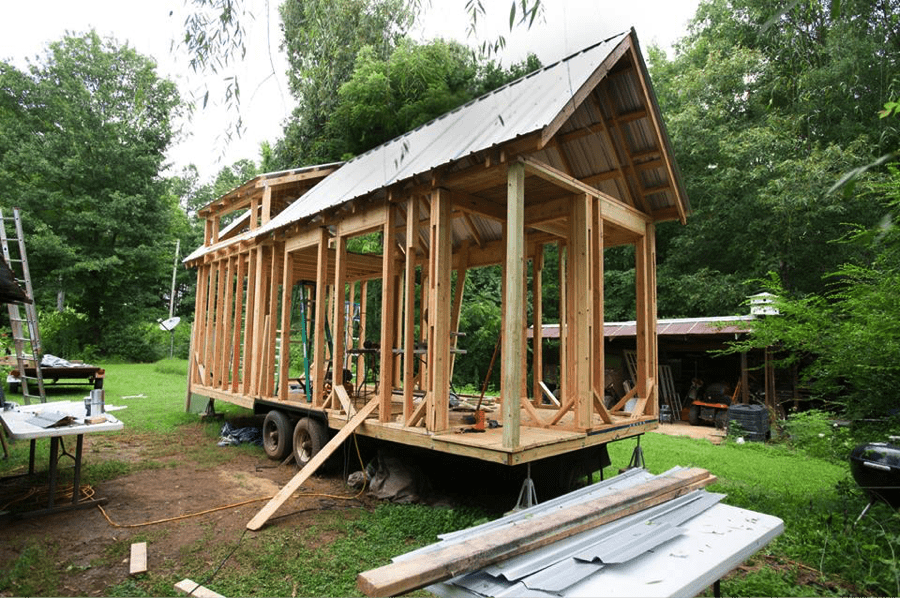
After raising the walls, we proceeded to frame the sleeping loft above the kitchen and the roof. We decided to use galvanized 22-gauge tin roofing, and fasten it using roofing screws. We found a metal roofing shop that would sell to the public and only paid $200 for all the roofing we needed. After installing the roof, we had a dry space to work in. One way we saved a lot of money was instead of purchasing new windows from a hardware store (Lowe’s, Home Depot, etc.), we bought them all on either Craigslist or a local antique shop. The total cost for all 13 windows was a little over $300. Most tiny house blogs say to budget almost $1500 for windows alone!
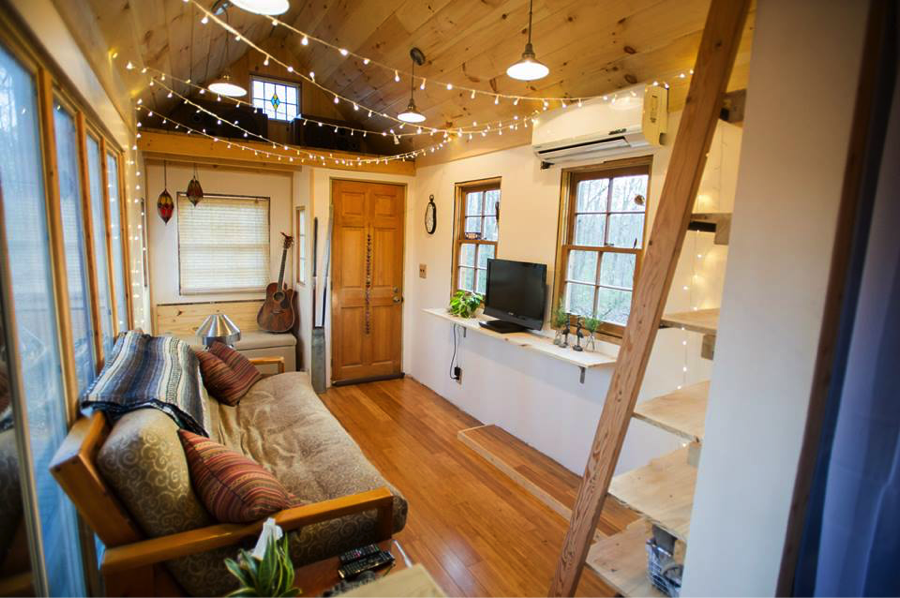
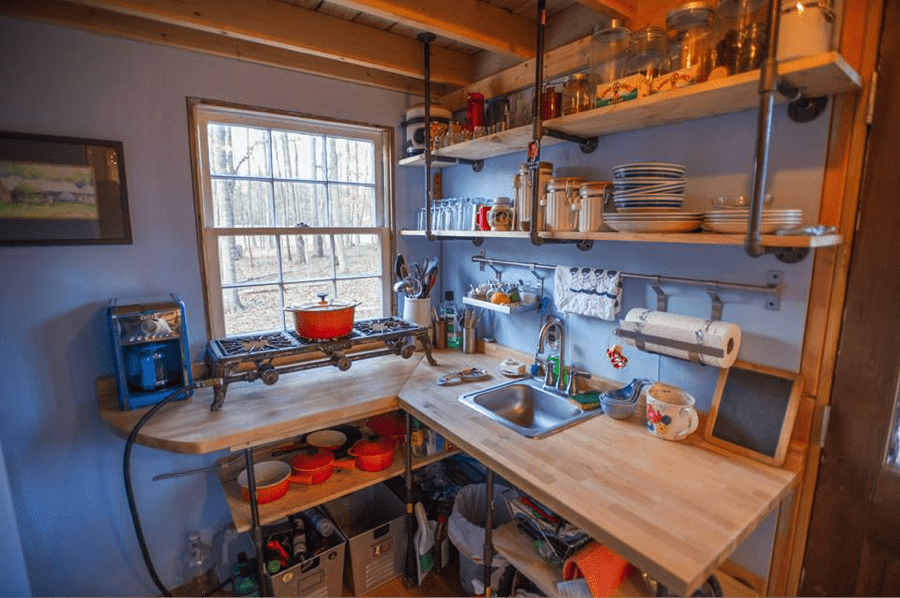
We installed the windows, added cypress lap board as our siding, and put in the doors. We used plywood, wood glue and wood screws for the interior walls in the kitchen and sleeping loft to add stability to the front of the trailer, and dry wall was used in the rest of the house. We decided to go with open shelving for the kitchen and stairs, and used black piping with white pine boards. Open shelving really adds to an open, more spacious living space, rather than closed in cabinets, although we have seen some tiny houses with cabinets that had glass doors.
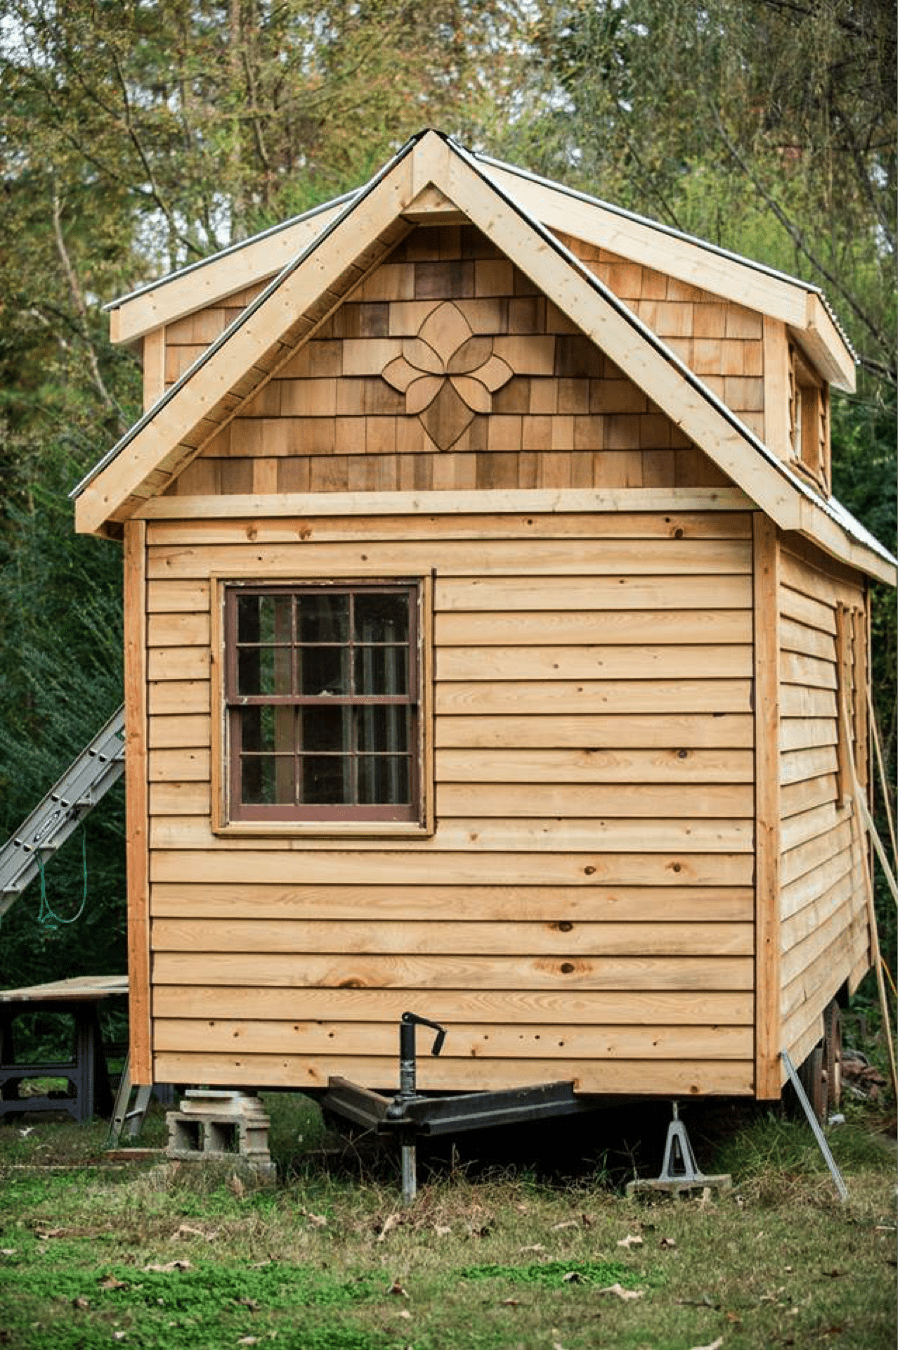
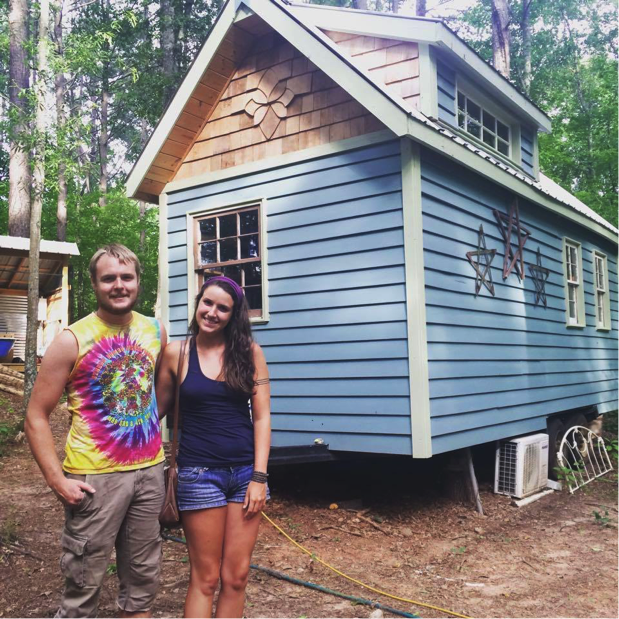
A year and a half after buying the metal for the trailer, our house was ready.
We have been in the tiny house, at this point, for just over a year, and couldn’t love it more! As usual in tiny houses, clothing storage has been one of the biggest hurdles. Instead of having an indoor shower/toilet, we turned that designated space into our closet for clothes and cleaning supplies and we use an outhouse and an outdoor shower located just outside of our back door. Our set up is more like a mobile home compared to a lot of other (more mobile) setups. We have a power drop and a water line that we hook into. We will have to disconnect before moving to a new location, but one day we would like to work our way into solar panels and propane appliances, which will make our home a lot easier to move to new locations. And we’ll be using sustainable products!
If I were to build another tiny house on wheels, I’d probably look for a broken trailer for a good price (with frame damage, not broken axels) and simply cut out the bad spots and repair it using the same material it was constructed from.
A couple different sites that helped us get ideas were subscribing to the Tiny House Newsletter, Tumbleweedhouses.com, and Pinterest! Loads of great ideas are everywhere on the internet.
Overall, we’ve enjoyed the process and wouldn’t have it done it any other way. I kind of have my eye on building a small school bus camper now, but I think Lily would kill me if I didn’t finish trimming out the house and shower hut first.
We are enjoying this lifestyle and definitely recommend going tiny.
What do you think? Would you go tiny? Let us know in the comments.
And make sure to share this article with you friends!